3.27.2013

A cozy neon sweater


Gap sweater, Forever21 button-down and necklace, Mossimo ankle boots.

When the whole neon trend started taking hold I was pretty wary of it. The 80s and obnoxious west-coast frat-boys came to mind, and I didn't want to go to either of those places. But after a few dressing-room experiments, I discovered that I actually really love neon pink and that it is a pretty flattering color on me. I like a good pop of color, and neon pink seems fresh and goes with almost anything, believe it or not, especially my beloved chambray shirts. This particular piece is also a nice nod to Spring for days that still seem like the end of Winter. 

So apparently I'm a neon convert. And I'm ok with that. 

You can see that my hair is a bit lighter now! I'll have a more details post on that soon. :)

xoxo

k

#nowplaying - "Can't Hold Us" - Macklemore & Ryan Lewis

3.21.2013

DIY Hairspiration

DIY Hairspiration: Balayage highlights

I have only ever dyed my hair twice, but after contemplating the ombre look (much to the dismay of my boyfriend), I ended up falling in love with this slightly grown-out natural highlights look that is created with the balayage technique. My previous hair-dying experience is limited to getting professional highlights in high school (so subtle that no one noticed) and using a box dye just barely different than my hair color in college while my blonde friends gave themselves highlights. So, attempting this look at home is a little scary, but I've never been one to spend much money at the salon, so I'm taking the gamble and hoping that all the YouTube research I've done will pay off.

The ombre look has been super popular the past couple years and I've always contemplated trying it, but I love that these balayage highlights are similarly low-maintenance (no root line needing to be touched up all the time) but look a bit more natural and a little less trendy. I've always had dark hair so I love the idea of getting that sun-kissed look to brighten up my hair with golden/coppery tones instead of blonde. Apparently balayage means "to sweep" in French and involves painting strands of hair with a light hand to create the natural look, instead of using foils, which will give you very stripe-like results. 

Just to clarify, I am not going for one of the blonder looks above, but I do really love the highlight placement in those photos. I actually bought a light golden brown hair color the other day, thinking I would use that instead of a bleach highlighting kit to get color just a shade or two lighter than my own, but I did a strand-test and it barely showed up! I decided to pick up a box of the L'oreal Wild Ombre 060 (for medium to dark brown hair) and use that to paint on my highlights instead of ombre. Most of the results I've seen for that kit have turned out a light coppery-brown color, which is what I'm going for so hopefully it will work! 

Unless this fails miserably and I'm too embarrassed to take a photo, expect another post soon with how it turned out! Cross your fingers for me...

xoxo

k

3.20.2013

Boyfriend jeans and pink lips


Gap blazer, tee, and boyfriend jeans. H&M earrings and flats.

I finally found some boyfriend jeans that I like, after trying on quite a few pairs over the past year or so. I found a pair that I like (shown in my last outfit) that kind of have the "boyfriend" jean look, but they are still very fitted so I was looking for a pair that had the relaxed, looser look without being completely unflattering. I had even tried this cut on before at Gap and not liked how they looked, but I gave them a try again and ended up really liking this particular wash.

They have this wash at Gap right now (here) as well as a darker and a lighter version. Since the rest of this look is pretty simple, I decided to throw on some bright pink lipstick and my new neon earrings (below) to brighten it up. More on that soon, because I'm surprisingly really liking the neon trend. Please feel free to ignore my bad hair day. :) I'm excited to try dressing these up a bit also. I really love the look of boyfriend jeans paired with high heels and other polished items.

xoxo

k

3.18.2013

Dots and Denim


Forever21 blouse, Gap jeans, Crown Vintage loafers.

This is just a casual typical work outfit from the other day. I've just been excited that I can break out my blouses and flats and not be stuck wearing chunky sweaters and boots every single day. I always think it looks cool on other girls when button-up shirts or blouses are buttoned all the way to the top, so I've been timidly trying to adopt this look, too. I like it with this top, especially since it's a little sheer. 


If you haven't checked out my work at Trapit yet, I've been doing some fun food blogging and have made all kinds of delicious things. My latest endeavor was a Guinness, chive, and Irish cheddar beer bread. Check out the full post here for more! 

xoxo

k

3.13.2013

Giving the no-heat curl a whirl


I've been on a mission lately to figure out the best ways to get some curl/wave/texture into my fine, straight hair. If only it was still 2001 when sleek hair ruled the world. I've tried the popular curling iron Lauren Conrad method, but my hair tends to fall out of the curl rather quickly, which is frustrating after I've put more effort and time into my hair than I normally ever do.

I came across this overnight no-heat curl method in my search and as a low-maintenance, get-up-and-go in the morning type of gal, thought it sounded pretty perfect, so I gave it a try! Head over to fellow Portland blogger The Paper Mama for a helpful video tutorial, but here's the basic gist of the technique.


-When hair is still a little damp, put a stretchy headband (about 1/2-1 inch thick) over your hair from the hairline, above your ears, to the back of  your head.

-Brush through your hair and split it into two sections. Starting with a small (1/2-1 inch-ish) section of hair in front, wrap the hair away from your face through the headband. Continue wrapping the hair around and through the headband, grabbing more hair each time. Repeat on the other side until all of your hair is twisted into the headband.

-Go to sleep. Wake up. Pull the headband out and you will have curls!


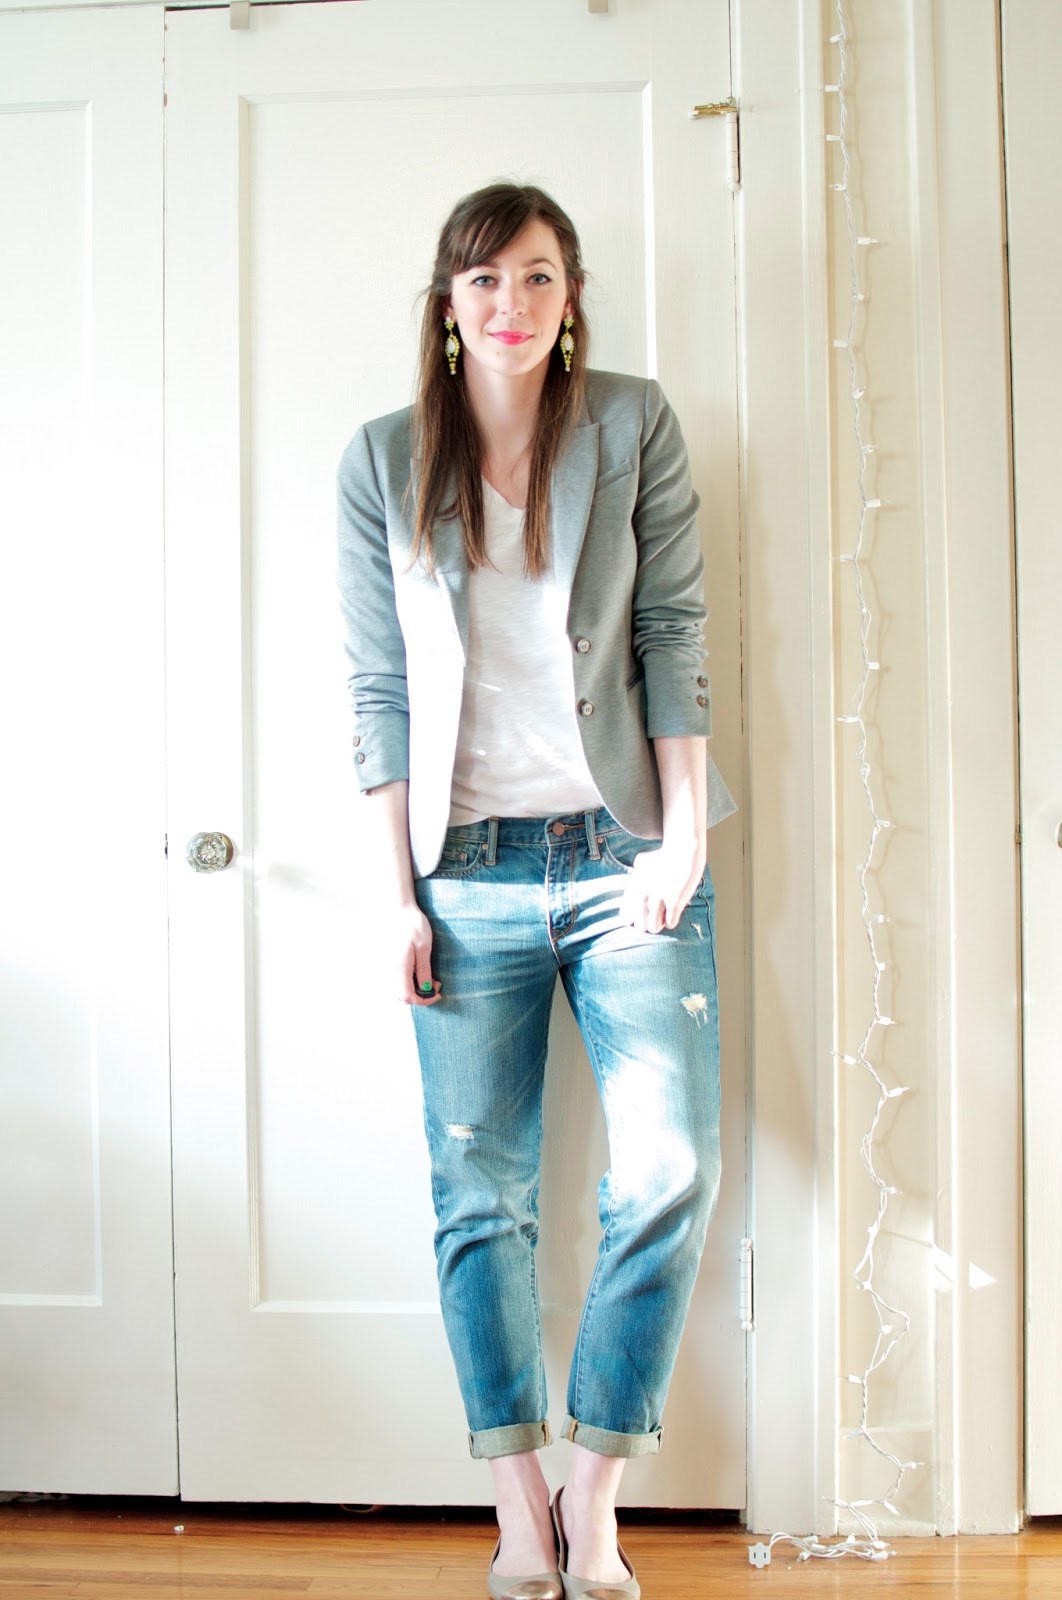
The first time I tried this, I wrapped it fairly loosely and ended up with bigger, looser waves (above). I made sure to wrap the hair tighter the second time and I got much more defined curls. My only problem with this method was that it's hard to get the curls to be uniform on both sides, hence the side-swept look in the first photo.

I'm going to see if I can perfect the method a bit more, but for wake-up-and-go hair I'd say this trick was pretty successful. And the curls lasted much better than heated curls since my hair dried in the shape.

xoxo

k

3.12.2013

Bringin' it back.


After a long hiatus, I've decided to bring this blog back! I got distracted by a new job and summer life and yadayada, but long story short I've had lots of inspiration lately and nowhere to document it all. I've had spring clothes, hair, makeup, and DIY adventures on the brain lately, so I'm hoping to be a little more consistent this time and bring all of those things to this little blog. And hopefully post better outfit photos than the one above. So here we go! 

xoxo

k

#nowplaying - Justin Timberlake 20/20 Experience (finally!!)